Wednesday, March 23, 2011

A Love Layout

Have I ever mentioned that I have a scrapbooking club? Well, I do. We meet the first Thursday of the month and make a scrapbook layout and then another simple project. If you're in the Albuquerque area and are interested in attending my club, contact me. 

This layout is from my January club. I generally am not a Valentine's fan, but this year something took over me and I actually made several Valentine-related items; this scrapbook layout being one of them. The good thing about this layout, though, is that is can be used for anybody you love. I have no idea yet what pictures will grace this layout, but I do know that this layout is one of my favorites. I hope you enjoy it.

Stampin' Cita's tips:
  • Color Scheme: Real red, Pretty in Pink, Pacific Point
  • Stamp sets: Filled with Love, Notes & Details,  Fundamental Phrases
  • Accessories: Basic rhinestones, Stampin' Dimensionals, Big Shot, Top Note die, 1" Circle punch, Eyelet Border Punch, Brayer, Versamark
  • Create the background by starting with two 12x12 sheets of Whisper White Cardstock. Stamp the heart image in Versamark all over the cardstock to create a background. Next, ink your brayer with Pacific Point by rolling it over the ink pad and then roll it over the cardstock. Repeat this step until you are satisfied with the amount of Pacific Point on your page. You will then repeat this step using Pretty in Pink. Remember to clean your brayer in between colors. 
  • The DSP used on this page was part of the Filled with Love package, but it still can be obtained in the Brights Patterns Designer Paper Stack (which is a great paper stack to have around). 
  • Stamp the "Love" on whisper white and then stamp the heart clover image on a piece of Pretty in Pink DSP. Punch the image out using the 1" circle punch and use it for the "O" in Love.  
  • Cut out two Top Notes, one Whisper White and one Real Red. Cut along the dotted lines of the Whisper White and adhere to the Real Read Top Note to get a nice layered look. 
  • Use the images in the Notes & Details stamp set to create a place for journaling. Note that the "Love" image is actually from the Fundamental Phrases stamp set and stamped in Real Red.


I hope you enjoy the Love Layout and can use it as a starting point for one of your scrapbook layouts. I think this is an simple layout that can easily be customized to different colors and occasions. 

Happy Stampin' and Scrappin'!
~Cita

Monday, March 21, 2011

Punch a Bunch of Owls


Remember I mentioned how I got into the Valentine's Day spirit this year? Here's another one of my Valentine's Day projects that I did, even though I personally think Valentine's day is way overrated. However, one of the things I like about this card is that it doesn't have to be used for a Valentine's Day card. Just change out the greeting to "Happy Birthday" or "I Love You" or "Thinking of You," and wa-la - a non-Valentine's day card. On another note - I love the owls from the Sale-a-Bration Punch Bunch set. They are so stinkin' cute. 

Stampin' Cita Tips:
  • Color scheme: Certainly celery, Real Red, Pink Piourette, and Early Espresso
  • Stamp sets: Sale-a-Bration Punch Bunch, Teeny Tiny Wishes 
  • Accessories: Owl Extra Large punch, Perfect Polka Dots Embossing Folder, Big Shot, 1/4" Grosgrain Ribbon Early Espresso, Scallop Trim Border punch
  • Use the Owl Stamp in the SAB Punch Bunch stamp set to get your base owl image. Cut out the owl using the Owl punch. Then, take a few pieces of DSP and punch out the body of the owl using the Owl punch and adhere the punch out to the owl image. I also used the Stampin' Write markers to color the Owl's outer eyes.  
  • If you are like me and are not really good at tying beautiful bows, tying a knot in your ribbon is a nice alternative. I'm good at tying knots, such as I did with the Early Espresso grosgrain ribbon. I used scotch tape to attached the ends of the ribbon behind the DSP layer. 
Happy Stampin'

    Sunday, March 20, 2011

    A Bookmark Card Just for You!


    Look, I'm not blogging about Christmas. It's beautiful outside and there's hint of spring in the air. I'm so excited! Hurry up spring!

    You know what else I'm excited about? I'm excited about the Sale-a-Bration Punch Bunch stamp set. I love how each stamp in the set coordinates with a punch. Like this stamp. Although I did not use it in this way, but the "For You" stamp in the Punch Bunch stamp set coordinates with the scallop punch (as well as the 1-3/4" circle punch as you will see). 

    Stampin’ Cita Tips:
    • This card is a greeting card with a book mark! You’ll need to obtain a few small magnet pieces to make the bookmark.
    • Color scheme: Melon Mambo, Crumb Cake, Always Artichoke, Very Vanilla
    • Stamp sets: Sale-a-Bration Punch Bunch
    • Accessories and tools: Big Shot, Two Tags Bigz Die, Springtime Vintage DSP
    • To make the book mark, cut a piece of  2” x 8” cardstock and score and fold at 4”. Place the folded cardstock over the skinny tag on the Two Tags Bigz Die. Make sure to place the fold inside the tag so that you get a folded tag instead of two full, separate tags.


    • To make the "For You" embellishment for the bookmark, first punch a scallop from the Springtime Vintage DSP. Next punch a1-1/4" circle from Always Artichoke. Finally stamp the "For You" image in Always Artichoke on Very Vanilla and use the 1-3/4" circle punch to punch out the middle of the stamped image. 
    • Add some *bling* by placing a Rhinestone on the flower.
    If you don't want to make this a bookmark card, all you have to do is just adhere the bookmark to your card, and wa-la, now it's just a card.


    Happy Stampin'
    ~Cita


    Thursday, February 24, 2011

    Oh Christmas Tree, How I Miss You


    Maybe it's because Spring hasn't quite arrived yet that I'm still so fixated on Christmas. (Or maybe I'm just THAT behind on my blog posting). But here's another Christmas creation, and one that I am quite proud of. I got hold of this idea as I was browsing through the Stampin' Connection, an exclusive community of Stampin' Up! demonstrators.
    The tree is comprises 20 ornaments punched out of DSP using the Ornament Punch. I "decorated" a couple of the ornaments by using the eyelet border punch and the scallop border punch to punch a little strip of Cherry Cobbler card stock and adhering it to the ornament. The tree trunk is an inch-wide piece of Chocolate Chip cardstock. Finally, I punched the cute little bird from DSP using the Two-Step Bird punch and the Christmas greeting comes from the Four The Holidays stamp set.

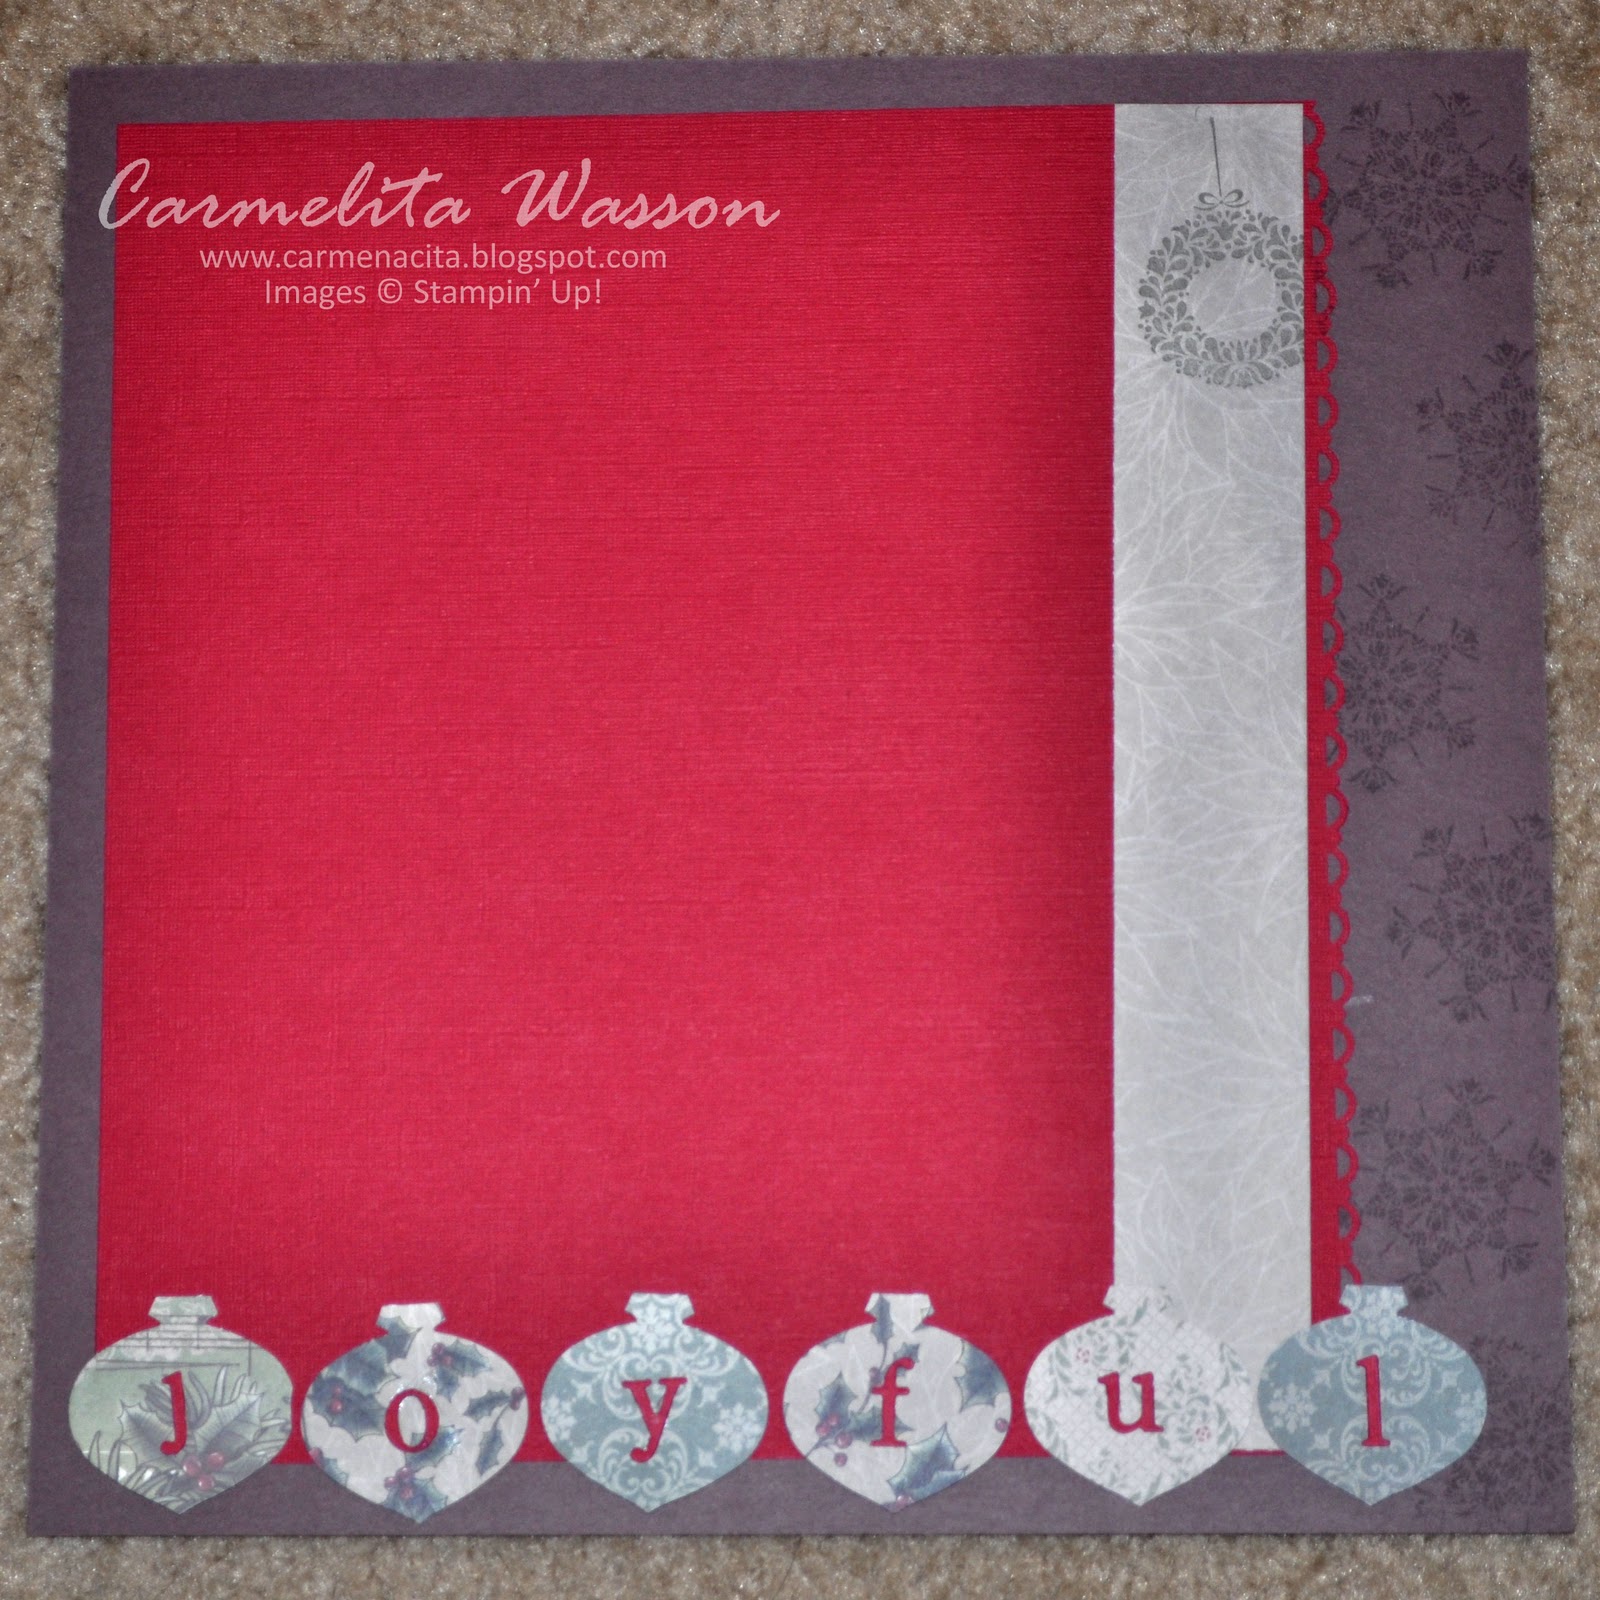
    Since the left side of the layout was so complex and busy, I decided that the right side should be simple. I once again punched out several ornaments and then decorated them with the letters from the Joyful sizzlits die. 
     
    And just because I love her Christmas pictures and I think she is so stinkin' adorable, here's Bella Bug, whose pictures will grace this scrapbook layout.  

    Happy Stampin'

    ~Cita

    Saturday, February 19, 2011

    2010 Ladybug Christmas Party

    In December, Ladybug Ink, my stamping group, had our annual Christmas party. Each year, we have a gift exchange, with the gifts being handmade. This year, the Stampin' Up! fabric was prevalent in a lot of the gifts, and there were several awesome projects. Once again, I know that Christmas was almost two months ago, but I'm still missing it and I have so much to share. I hope you enjoy all the Ladybug's projects. I mingle with such a creative bunch.

    Amber decorated this tote with flowers made from the Springtime Vintage Designer Fabric in the Occasions Mini Catalog. I was the original recipient of this tote, but one of the other Ladybugs stole it from me.

    Angela made this tray using the DSP from the previous Holiday mini catalog. She included some festive candles in this cute gift.

    This was my gift that I made. It's a series of decorated cork board. The white is actual dry erase that I stamped with the journaling stamp from the Notes & Details stamp set. I made the flower using the Fun Flowers Bigx die and the Big Shot. I love how you can cut more that just cardstock with the Big Shot. Just with this project, I cut vinyl, whiteboard matte, and fabric.

    Corrina made this awesome decorated notebook. This is the cover and there are two other decorated dividers within the notebook. After having two of my other gifts stolen from me, I was the lucky recipient of this notebook.

    I would like to to say that Karen is super talented and I am amazed at her project. It's an ornament and bowl that she made with the designer fabric. Unfortunately, this picture does not show just how awesome the ornament looked.

    Kay made this beautiful plate using decor elements and Stampin' Up!'s rhinestones.

    Michelle, one of the newest Ladybugs, made this adorable recipe box.

    The other Michelle used designer fabric to make this adorable Checker board set. I was the original recipient of this gift, but it was quickly stolen from me.

    I did however get to keep the adorable gift tag that Michelle made for her project.

    Mindy was so proud of her gift. She made this pillow and used the designer fabric for one side of the pillow and then the Cherry Cobbler seam binding to make the stripes on the other side (see below). She said this was one of the first things she has ever made.


    Ruth used designer fabric to make this table runner.


    Vanessa made these beautiful coaster set using stamps.

    And there is the Ladybug Christmas party in a nutshell. Did you see all the amazing things you can do with designer fabric? I'm so jealous of all the ladies who know how to stamp AND sew. I don't even own a sewing machine. Shoot, I barely know how to thread a needle (now that's an exaggeration, but I think you get the point). 

    Happy Stampin' 
    ~Carmelita

    Tuesday, January 25, 2011

    Sale-A-Brate!

     The best time of the in Stampin' Up! year has arrived - SALE-A-BRATION!

    Sale-A-Bration is the biggest sales event of the year, and this year there are four great Sale-A-Bration sets for you to choose from--as well as a Designer Series Paper & Quick Accents pack, a Ribbon & Button pack, digital downloads, and Décor Elements!

    There are three ways for you to earn free products:

    1. Spend: Receive a free Sale-A-Bration product for every $50 you spend (before tax and shipping)!

    2. Host: Receive a free Sale-A-Bration product for every $300 in workshop sales*, in addition to the regular hostess benefits! *Note: This benefit is only available on qualifying customer, demonstrator, and workshop orders. Online orders do not qualify.

    3. Join: Join Stampin' Up! as a demonstrator and receive 15 percent off your Starter Kit (Standard or Digital+), plus a special Sale-A-Bration bonus bundle valued up to $50!

    Sale-A-Bration lasts until March 31. Contact me or visit my website to take advantage of this awesome event. 
    ~Cita

    Saturday, January 22, 2011

    Look who is Turning One!


    My daughter is turning one in three weeks!! Aagghhh!
    AND I haven't gotten her birthday invitations/announcement sent out (bad mommy).

    So tonight, after Sybella went to sleep, I sat down with my husband, "watched" a movie, and created this invitation using My Digital Studio. I was so happy and impressed with myself and the invitation. I ordered a crap load of these babies, and hopefully they will all be sent out by the end of this upcoming week. I couldn't wait to share it with you, so here I am blogging instead of going to bed.

    Positioning the pictures wasn't as painful as I originally thought it would be, especially if you turn on the guides. I also like how you can add a border around the pictures, like I did with the main picture. They call it a "Mat" in MDS. I originally thought that I was going to purchase a few downloads to create the invitation, but everything I used for this project comes with the MDS software, so I didn't have to purchase anything. It worked out great. Have I told you lately that I love MDS?

    Ok. Off to bed. I have to rest up for the football games tomorrow.

    Happy Digital Crafting!
    ~Cita
    PS - Don't I have cute baby? :-p

    Friday, January 21, 2011

    The Joys of My Digital Studio

    I wanted to take a moments to write a few points about the wonders of My Digital Studio. It truly is a great product and I have enjoyed making many digital scrapbook pages with it, and I tend to use it a lot for making invitations to my Stampin' Up! events. Check out my Facebook page for samples. And while your there, "like" me. :)

    Anyways...My Digital Studio....

    What is My Digital Studio? 
    MDS is an intuitive digital design software featuring Stampin’ Up!’s exclusive art, designs, and colors. You can create an array of interactive digital scrapbooks, cards, calendars, and more—which you can then print using Stampin’ Up!’s professional print services, or save to DVD, e-mail, or upload to the Internet. 

    What about the software? Is it hard to use?
    No, it is not hard to use. The great thing about MDS is that it was designed to accommodate users with all levels of ability and experience. The software will also run on a PC or Mac. 

    What does the software include?
     The My Digital Studio boxed version includes nearly 2,000 elements–stamp brushes, embellishments, pre-designed templates, punches, Designer Series Papers, card stock, and more. That’s an over $500 value!

    Don't think you're creative or don't have enough time? 
    No worries, use the designer templates for inspiration.You can also start with a blank canvas if you are up to it.

    What kind of content is available for the MDS?
    In addition to the content that come with your MDS you can purchase additional content from my website. There's dynamic digital content offerings available for purchase monthly, which includes exclusive content only available in digital format.
     
    Can I use the images from MDS in other programs?
    Yes, multiple file formats allow for seamless install with My Digital Studio or other design programs.

    What about printing?
    Stampin' Up! has professional print services that use high-quality, sewn-reinforced binding, printing, and paper. Visit my website for pricing. 

    How much does MDS cost?
    MDS is competitively priced at $79.95.
    Visit my website to order yours now. 

    Contact me if you have any more questions about My Digital Studio. Take the leap from traditional scrapbooking to digital scrapbooking. It's a great experience!

    Happy digital crafting!!
    ~Cita

    Wednesday, January 19, 2011

    A Little Bird Told Me

    A little birdie told me that if you host a qualifying workshop (at least $150 in sales), you can get free stamp sets that you can use to make cute cards like this one. I used the Punch Potpourri hostess stamp set to make this card. Since this stamp set is a hostess set, you can only acquire this set by hosting a workshop or purchasing a minimum of $150 of product.Hostess stamp sets like this one are a great reason to host a workshop. In addition to a free hostess stamp set, you also qualify for at least $15.00 worth of Stampin' Up! products. And all you have to do is open your house up, invite your friends, and provide some refreshments. I'll take it from there and do the dirty work. Contact me if you are interested in hosting a workshop or if you have any questions about the whole thing. .

    Stampin' Cita's Tips:
    • Colors used: Baja Blue, Chocolate Chip, Pink Pirouette, and Old Olive
    • Stamp sets: Punch Potpourri and Teeny Tiny Wishes 
    • Accessories: Two-Step Bird Extra Large punch, Ticket Corner Small punch, Greenhouse Gala DSP
    • Base is 3x3. Cut a 3x6 inch piece of cardstock and score at 3 inches. 
    • Stamp the bird twice in Pink Pirouette on Whisper White cardstock. Using the bird punch, punch out the first stamped bird image. For the second stamped image, use the wing part of the punch to punch out a part of the stamped image (preferably the part with the swirlies). Adhere the wing to the bird using a Stampin' Dimensional.
    • Take a strip of Old Olive cardstock and use the bird punch to punch out the branch. 
    • Use Chocolate Chip to stamp "Friend to Friend" or any of the other awesome sentiments in the Teeny Tiny Wishes stamp set.

    ~Cita

    Tuesday, January 18, 2011

    New Downloads for My Digital Studio

    Have you used My Digital Studio recently? I have been hard at work using MDS to digitally scrapbook Sybella's first year. I have three more weeks to scrapbook before it's done (she turns 1 on Valentine's day). I'm hoping to share some of my pages with you when I'm done with the book.

    Today, Stampin Up! released several new items that you can download and use for your MDS projects. Check them out and then head on over to my website to purchase My Digital Studio or these awesome downloads.

    Item  Description   Image  Price  Content  
    124030  Tempting Turquoise Patterns Designer Series Paper             $1.95  Four Tempting Turquoise
    Designer Series Paper Patterns  
    124031  Old Olive Patterns Designer Series Paper         $1.95  Four Old Olive Designer Series Paper Patterns 
    124033  Pretty in Pink Patterns Designer Series Paper              $1.95  Four Pretty in Pink Designer Series Paper Patterns   
    124022  Sweet Stitches Designer Buttons     $2.95  Three button styles in Tangerine Tango, Melon Mambo, Chocolate Chip, and Daffodil Delight. Total of 12 buttons.  
     
    124028  Pattern Pieces Stamp Brush    $1.95  One oversized fabric pattern. Coordinates with the "Oh Sew Suite" product line. 
     
    124018  Blossom Petals Punch            $0.95  Four-piece stamp brush set and one 5" x 7" greeting card designer template.
     
    124019  Build a Blossom Stamp Brush Set     $5.95  Twelve-piece stamp brush set. Coordinates with the digital Blossom Petals Punch. 
    124027  Eat Chocolate Stamp Brush Set     $3.95  Four-piece stamp brush set.
    125161  Top 10 Photo Book Template     $14.95  This 24-page designer template (11" x 8-1/2") was used to make the My Digital Studio Professional Print Product Sampler, demonstrator supply item #124261.
     
    125162  2011 Pennant Desktop Calendar             $14.95  This 25-page calendar template (5-1/2" x 6-1/2" calendar with easel) was used to make the My Digital Studio Professional Print Product Sampler, demonstrator supply item #124261.
     
    125623  Baja Breeze Flower Bouquet Birth Announcement            $1.95  Double-sided baby boy announcement postcard designer template. Colors are Baja Breeze, Kiwi Kiss, and Basic Gray.
     
    125163  Regal Rose Flower Bouquet Birth Announcement             $1.95  Double-sided baby girl announcement postcard designer template. Colors are Regal Rose, Kiwi Kiss, and So Saffron. This template was used to make the My Digital Studio Professional Print Product Sampler, demonstrator supply item #124261.
     
    125164  Play Date Invitation Designer Template             $1.95  Birthday greeting card invitation template. Front and inside of card are pre-designed. Template includes nine embellishment pieces and was used to make the My Digital Studio Professional Print Product Sampler, demonstrator supply item #124261.
     
    125165  Snowflake Flurry Holiday Trifold Card Designer Template             $1.95  This 4" x 9-1/4" trifold card designer template was used to make the My Digital Studio Professional Print Product Sampler, demonstrator supply item #124261.

     
    124542  Chat Room Rock Star Stamp Brush Set     $5.95  Ten-piece stamp brush set.  
    124543  Chat Room Friend Stamp Brush Set    $5.95  Ten-piece stamp brush set.  
    124486  Chat Room Baby Stamp Brush Set     $5.95  Ten-piece stamp brush set.  


    Enjoy!
    ~Cita

    Saturday, January 15, 2011

    Missing Christmas Already

    I loved this past holiday season, and I'm kind of sad that is over; it went by too fast! I'm also kind of in denial that we are not in the holiday season anymore. I'm still jamming out to my Glee Christmas album.

    I made quite a few Christmas cards this past year and was unable to share all of them on my blog. Not wanting them to be forgotten, I decided to post them anyways ( I know, I know. Christmas is over :( ). I hope you enjoy them anyway, and maybe they will be an inspiration for next year.

    I was really proud of this card. I thought it was simple, but it turns out that my lovely stamp-a-stack attendees showed me that it was the most time-consuming card that I have designed in a while.


    This card was CASEd from a fellow demonstrator that I found on Stampin' Connection (a benefit of being a Stampin' Up! demonstrator).  Even though the Northern Flurry Textured Embossing folder was featured in the now expired Holiday Mini, it is a carryover item and is still available for purchase (120902, $7.95 US). 


    This card is another one that I CASEd and offered it at my stamp-a-stack in November. I love the new Rhinestones. They are the perfect touch to this card.


    In October, I held a gift card holder class where we made two different Christmas gift card holders. This was the first holder we made.

    And here is the second gift card holder. This one was my favorites. I love the Baja Blue and Chocolate Chip color combo.

    Hope you enjoy my throwback to Christmas. You know, it's never to early to start preparing! :)
      
    ~Cita

    Snowed In

    It's like we were destined to not go to school today. I woke up to a beautiful 6 inches of snow in my yard. We are in the lower elevatio...