Wednesday, August 10, 2011

It's Beginning to Feel a Lot Like Christmas (a sneak peek)


Umm…well maybe not. At least not with the 100 degree weather outside. But, in Stampin’ Up! world it certainly is, especially with the new Holiday Mini being released in less than a month.

I made this card for my Fall Open House and featured a new stamp set form the Holiday Mini Catalog. I have to say that this year’s Holiday Mini is amazing. I’m not usually such a quick fan of new catalogs ( I have problems with change), but this one is absolutely fabulous. Here’s a little sneak peek of what’s coming at you.

Stampin’ Cita Tips:
  • Stamp sets: Christmas Lodge
  • Color Scheme: Early Espresso, Garden Green, Always Artichoke, Very Vanilla, and Cherry Cobbler
  • Accessories: Frostwood Lodge DSP
  • Stamp the tree image in Always Artichoke on Very Vanilla. Since the stamp is a pretty big one, reverse the inking process. Lay your stamp on the table face up and use the ink pad to apply the ink. Give it a little huff before you stamp on the cardstock to make sure the ink is “alive.”
  • Cut the Garden Green cardstock ¼” wider than the Very Vanilla cardstock piece to give it a framing layered effect.
  • Stamp the “Merry Christmas” sentiment in Cherry Cobbler on a piece of 1” x 4.24” of Very Vanilla cardstock. Tear the bottom of the cardstock and use a bone folder to slightly curl up the end of the banner.
I hope you enjoyed your sneak peek. Book your workshops now so you can earn your free product from the mini.

~Cita

Wednesday, July 27, 2011

3 Reasons Why You Should Join Stampin' Up!


Because I want a free stamp set, I'm blogging about why you should join Stampin' Up! in hopes that you will decide to sign-up and join my team of the Ladybug Ink stampers.


Reason #1: 20% Discount on all your orders. And if you sell Stampin' Up! to other people, you get to keep 20% of your sales (and spend it on more stamps....)
Reason #2: $99 Starter Kit. Through July 31, new demonstrators can purchase a specially-priced Starter Kit for just $99! You'll get over $180 worth of product in the starter kit. 
Reason #3. Free Christmas Keepsake Project Kit. Join Stampin' Up! before July 31 and you'll get a free kit that contains everything you need to make a beautiful Christmas box. The kit even includes a stamp set from the upcoming Holiday Mini Catalog. 
Christmas Keepsake Box


The time has never been better to join Stampin' Up! If you are interested in joining, please email me (stampincita@gmail.com) and I'll walk you through the process. I don't think you'll ever regret joining Stampin' Up!


Happy Stampin'
~Cita

Tuesday, July 26, 2011

Doilies Aren't for Old People

The Delicate Doilies stamp set was one of the sets that Stampin' Up! offered to us demonstrators as a sneak peak item in June. When I first saw it I was not to thrilled with this set. But for some weird reason, I ended up buying it, and I haven't really been able to put it down for the last two months. I did decide that one reason I was so turned off to stamp set was because it had doilies in its name. I think of my Grandma's bright yellow doilies when I think of doilies. And although those doilies are amazing, I think old people (no offense wiser, older generation. I have lots of respect for you and your doilies). However, once I got past the name, I'm obsessed with this set. 

I made this card for the June Ladybug Ink card swap. I CASEd it from a fellow demonstrator I found on Stampin' Connection. This color scheme is definitely out of my comfort zone, but I ended up loving it. I hope you enjoy it too. 

Stampin' Cita Tips: 
  • Stamp Sets: Delicate Doilies, Upsy Daisy, Strength & Hope
  • Color Scheme: Peach Parfait, Poppy Parade, Wisteria Wonder, Chocolate Chip, Whisper White, Concord Crush
  • Accessories:Decorative Label Punch, 1/2" Scallop Dots Ribbon Chocolate Chip
  • Stamp the doily images using Peach Parfait, Poppy Parade, and Wisteria Wonder. Focus on the middle of the card concentrating the images from corner to corner. Don't be afraid to overlap some of the images. 
  • Layer the Whisper White Cardstock on top of of the Poppy Parade cardstock. Wrap a piece of Chocolate Chip 1/2" Scallop Dots Ribbon in each corner.
  • To create the greeting, stamp the words from Strength & Hope in Wisteria Wonder ink on a piece of Wisteria Wonder cardstock. Stamp the birthday greeting from the Upsy Daisy stamp set in Concord Grape over the words. Use the Decorative Label punch to punch out the greeting and then use a sponge to add a little of Concord Grape around the edges. Adhere the greeting to your card using a Stampin' Dimensional.
Happy Stampin'
~Cita

    Wednesday, July 20, 2011

    Stampin' Up! Convention 2011 - Swaps Round 1

     I recently got a chance to sit down and really look at my swaps I got at convention, and I was not disappointed. They are so great!! I loved them so much, that I decided I must share them. Hope you enjoy them as much as I have.


    Here's an interesting story about this last card. Well, it may not be too interesting, but I think it's neat. I live about three hours away from my mom, and she has a friend, Rhonda, who is a Stampin' Up! demonstrator. I've heard about Rhonda for years, and finally, at convention, I was able to meet Rhonda and we swapped cards. This is Rhonda's card. I love the Flirtatious suite, and I love her card. I think I may be purchasing the lace ribbon border punch soon. 

    Happy Stampin',
    Cita

    Tuesday, July 19, 2011

    Hello Posy Punch

    I am in love with the new hostess sets in the new catalog. They are amazing. I'm also in love with the new Hostess Benefits program. I love the changes and I love how flexible it is. I can now easily obtain every hostess stamp or use them on other stamp sets in the catalog. Love it! Love it! Love it!

    Oh, and let's talk about the awesome new In-Colors. I'm quickly falling in love with Wisteria Wonder, and Calypso Coral is an amazing coordinating color. Pool Party reminds me of the ocean in the Bahamas, and Lucky Limeade...well, that color gives me the urge to go to Sonic for a Cherry Limeade drink. (We've been hovering around 100 degrees lately, can you blame me for wanting a cold drink?) After I finished designing this card, I did end up going to Sonic.  :)

    Stampin' Cita Tips:
    • Stamp sets: Posy Punch 
    • Color Scheme: Crumb Cake, Wisteria Wonder, Calypso Coral, Lucky Limeade, Melon Mambo, and Concord Crush 
    • Accessories: Stampin' Dimensionals, silver brads, hemp twine, 1" circle punch, Flower punch from the Punch Pack
    • I used two one-inch wide scraps of Wisteria Wonder for the background and placed them behind the Whisper White with the stamped flowers. 
    • Stamp a flower from the Posy Punch stamp set once in Lucky Limeade, once in Calypso Coral, and once in Wisteria Wonder
    • Stamp the "Hello" greeting in Concord Grape on Whisper White and punch it out using the 1" circle punch. Adhere it to the middle of the middle flower with a Stampin' Dimensional.
    • Punch out a small flower from Melon Mambo using the flower punch from the Punch Pack. Use a paper piercer to pierce a small hole in the flower and then insert a Silver Brad. Wrap a small piece of hemp twine around the brad and use half a dimensional to adhere it to the "Hello" circle.
    The Posy Punch stamp set is an exclusive hostess set that you can get by hosting a workshop and earning hostess dollars. Contact me if you are interested in hosting a workshop and earning this and/or other great Stampin' Up! products.

    Happy Stampin',
    ~Cita

      Friday, July 15, 2011

      Thursday, July 14, 2011

      Stampin' Up! Convention 2011 - Day 1

      Today was fabulous!! I love convention!


      I started my day by sleeping in till 7 am. I usually am forced to wake up at 6 am; my daughter insists.
      Then off to Memento Mall I went. I got selected to be a Make & Take Helper, and one of the perks of helping out is that we got access to Memento Mall an hour before it opened. It was great, and the items they are offering in Memento Mall were beautiful. I think my favorite item is a plastic cup with a straw decorated Stampin' Up! style. I even bought my husband his own Stampin' Up! polo shirt. He's going to be stylin'.
      Umbrellas in Memento Mall. Thought they were adorable, but not much use for one in NM.


      Gotta love the displays in Memento Mall.
      Plastic cup with matching lunch bag. Flowers weren't included.
      Reusable Shopping Bags.
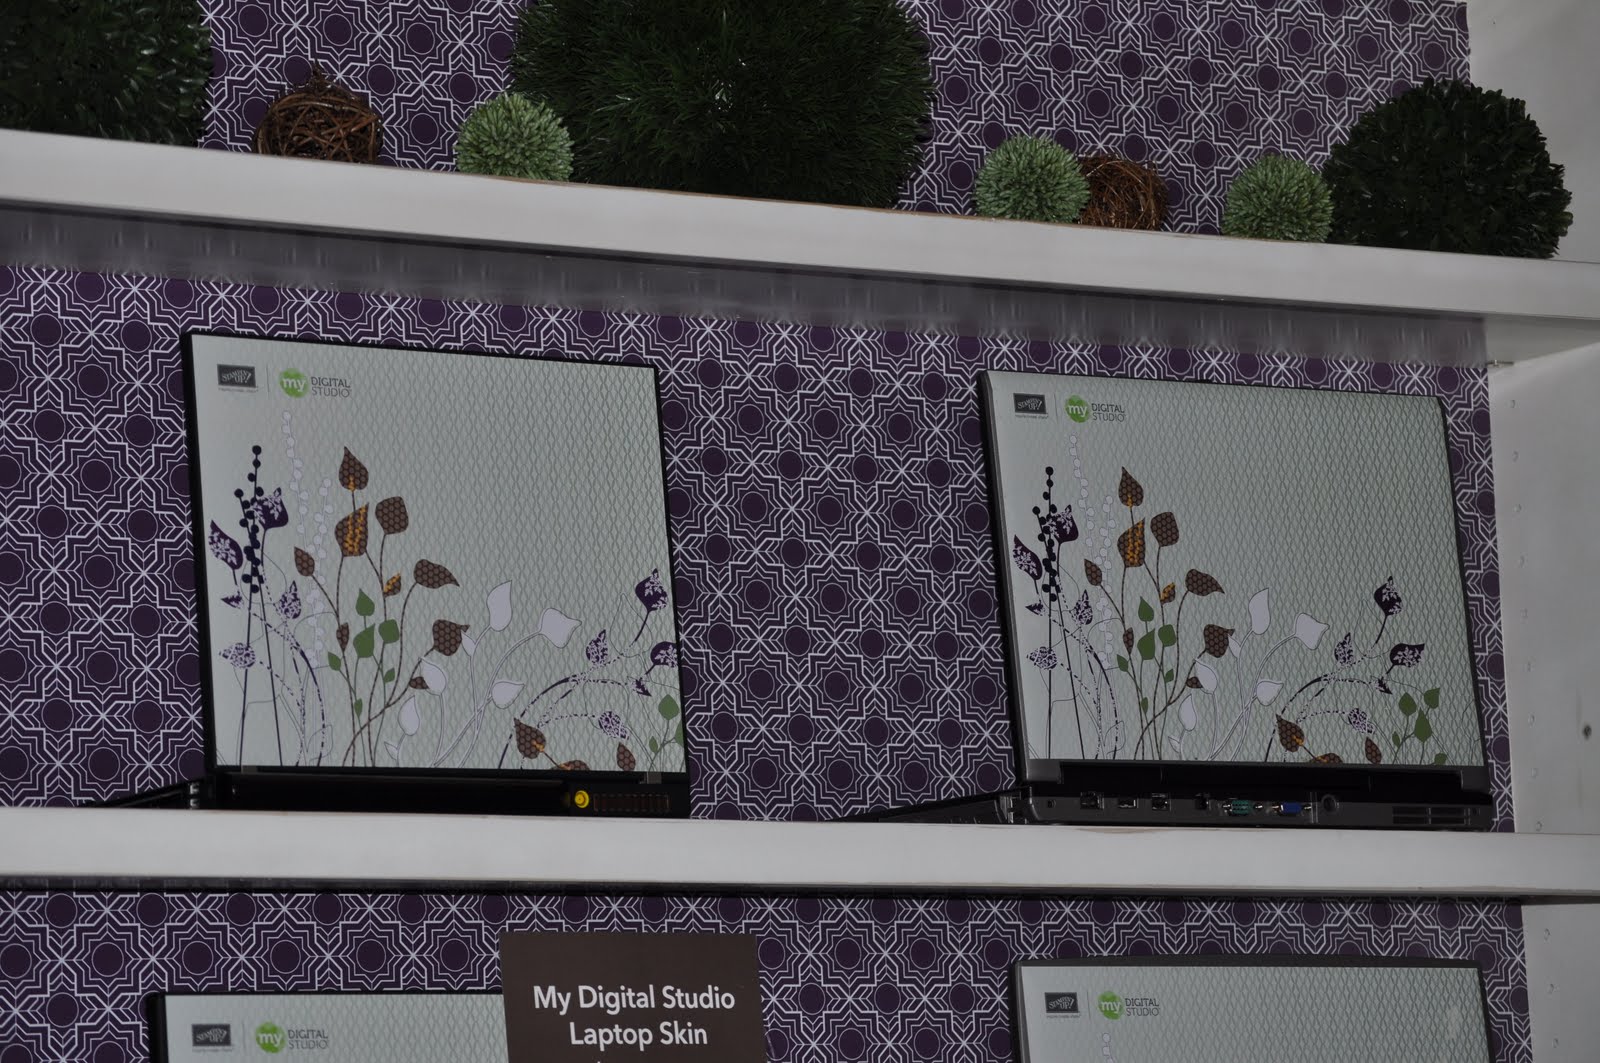
      MDS Laptop Skin.

      Stampin' Up! Apparel.

      My next stop was picking up my convention bag. All I can say about the bag is that It. Is. Amazing! It's so beautiful and there's lots of pockets, and I love the vibrant embroidery on the front.              
      Next stop: Demonstrator Resource Center
      I wandered around here for an hour, looked at the amazing samples, learned some tricks on the triple-layer punches, and planted my flower in the Stampin' Up! garden. I had to commit to share the Stampin' Up! opportunity to somebody by August 16. I think I can do that.

      My Flower in the Stampin' Up! garden
      Ribbon Ristras (I think....)

      Flirtatious Pinwheels
      A chicken made from DSP. Can you imagine making this?

      Display in the Demonstrator Resource Center

      Next stop: Make & Take Helper Training
      During training I got to make most of my make & takes, which are beautiful and amazing. We also got a special gift for being a helper. More on the M&Ts for another day.

      The top of the make & take box.

      My make & take packet and special pin.
      Then I needed a break. And to eat. I didn't eat breakfast.


      In the afternoon, I got to participate in a product focus group. I had heard about focus groups, mainly in my marketing classes when I was in grad school, and I was super excited to be part of it. It was fun and very educational. And one of the best parts - I got a free stamp set for participating.


      At this point, I had a gap in my schedule, so my sideline, Angela, and I took our rental vehicle and "got lost" in Salt Lake City. I love the mountains and the greenness here. I have mountains at home, but not green mountains. (On a side note: if you ever come to convention, don't rent a vehicle from Fox Rental Cars. We had the worse experience with them.)

      The last event of the day was the Kick-Off Garden Party. This was a lot of fun, once I caught my second wind (I was exhausted and hungry). There were "outside" games, such as volleyball and ladderball. And my favorite part was the photo booths. Angela and I sported some outrageous hats. Of course, no Stampin' Up! party is complete without the prize patrol, and they were out in full force.

      After the Garden Party, Angela and I ate dinner at the Naked Fish, which I highly recommend if you are ever in Salt Lake City. The sushi there is probably some of the best I have ever had.

      Tomorrow classes and general sessions start. Going to head to bed so I can be refreshed for another day of awesomeness.

      If you would like to see more picture from convention, check out my facebook page: Stampin' Cita, Independent Stampin' Up! Demonstrator.

      I'll write some more tomorrow!!

      ~Cita

      Wednesday, July 13, 2011

      Stampin Up! Convention 2011 – Follow Me!!


      The Stampin Up! Convention starts tomorrow!  Today, I headed to Salt Lake City with my swaps and fellow demonstrators and got all ready for convention.
      So, this year, I decided that I was going to Tweet throughout the entire convention. Want to know what’s going on? Follow me on Twitter (@StampinCita) to stay connected during the entire convention. You can also follow me on Facebook (Stampin’ Cita – Independent Stampin’ Up! Demonstrator).  I won’t be updating my page as often, but I will be posting more pictures there.
      Hopefully, I won’t be dead tired and will be able to blog or at least post pictures to my blog, each day. However, I’m going into convention with 3.5 hours of sleep (bad me), and you don’t go to convention to get sleep.
      Looking forward to sharing with you my convention experience.
      ~Cita

      Friday, July 01, 2011

      Hello New Catalog!!!


      It's here!! The 2011-2012 Idea Book & Catalog is ready for your viewing pleasures. Click here to see the awesome catalog and then head on over to my website to make your purchase. As always, the catalog is beautiful, and the new stamp sets are amazing. Take a look at the new catalog and let me know what you think and what your favorite new stamp set is (or are, if there are more than one).
      Happy Browsin'
      ~Cita

      Friday, June 24, 2011

      Monkey Valentine

      My daughter's daycare class had a Valentine party this past year and I was bound and determined to make all the cards for all the babies in her class (at that time, she was in the 6 week - 12 month room). My second goal was to use a whole bunch of scraps - cardstock, DSP, and ribbon - to make all the cards. I succeeded. I basically designed a layout and just switched out colors, ribbons, or DSP as needed.    

      Stampin' Cita Tips:
      • Card base is a simple 3 x 3. Easy to use big scraps of cardstock and smaller scraps of DSP. I let my scraps dictate the color scheme for my cards. 
      • Stamp Sets: Fox and Friends, Teeny Tiny Wishes
      • Accessories: 1-3/4" Scallop punch, Word Window punch, 1-3/8" Circle punch, 1-1/4" Circle punch, Ticket Corner punch. 
      • Any image from the Fox and Friends stamp set will work perfectly for this card. I just like monkeys so much that I forgot to use any of the other images, which include a fox (imagine that), turtle, whale, lion, owl, and giraffe. 
      • Once again, my go-to sentiment stamp set is Teeny Tiny Wishes. This card would make a perfect baby shower card, and Teeny Tiny Wishes has the perfect sentiment for that. I'm starting to think that everyone should have their own Teeny Tiny Wishes stamp set. 
      • The little heart came from the Two-Step Owl punch. I punched a scrap piece of Real Red cardstock and adhered the little heart with half a Stampin' Dimensional.


      I'm not sure if the babies appreciated all my hard work, but hopefully one of their parents did. If anything, I had fun making these cute little cards, and it really did not take that much time.

      Happy Stampin',
      Cita


      Wednesday, June 15, 2011

      So Happy For You


      This past Sale-a-Bration season was amazing. I loved all the sets and all the free stuff that I earned during this awesome event. As a demonstrator, I even earned a free stamp set in addition to all the ones I earned during the promotion. I have until the middle of July to pick my stamp set; I'm waiting for the new catalog to be available so I can get a set out of that catalog. Another perk of being a demonstrator is all the free product you can earn through different contests and incentive programs. 

      Anyways, I talk about Sale-a-Bration  because the cards in this posting feature the Sale-a-Bration So Happy for You stamp set. This was such a cute, versatile set that I'm holding on to (I'm currently going through my stamp sets and getting rid of the sets that are "retired" and I no longer use). 

      Stampin' Cita Tips:
      • Color scheme: Crumb Cake, Elegant Eggplant, Pumpkin Pie, and Rose Red
      • Stamp Set: SAB 2011 So Happy For You
      • Accessories: Stampin' Dimensionals, Natural Hemp Twine, Filigree Brad, Sponge
      • Stamp the star image in Pumpkin Pie three times on Whisper White. Then on a scrap piece of Whisper White cardstock, stamp the star image again in Elegant Eggplant and then two more times in Rose Red. Cut out just the star image (not the tail) and use a Stampin' Up! dimensional to place the star cut out on the Pumpkin Pie star images. 
      • Use a sponge to sponge Rose Red around the piece of Whisper White. Adhere this piece onto a piece of Elegant Eggplant. 
      • Use a paper piercing tool to punch a hole for the Filigree Brad. Once the Filigree brad is in place, wrap the Hemp Twine around the Filigree brad and adhere to the back of the Elegant Eggplant piece with scotch tape. 
      • Adhere the Elegant Eggplant piece to the Crumb Cake card base (which is 4"x4"), then stamp any of the wonderful sentiments from the So Happy for You stamp set. 
      I'm all about designing cards that can be used for a variety of events, and what's great about this card is that you can use this design for pretty much any sentiment included in the So Happy for You stamp set.

      Happy Stampin'!
      ~Cita

      Friday, June 03, 2011

      Belated Easter Wishes


      I am forever going to be behind on holidays and blog postings. This posting will be no different. :)

      I actually made this card way back in March for our monthly Ladybug Ink swap. I found this awesome idea of making a tulip using the Owl Punch from a demonstrator on the Stampin' Connection, the online community for Stampin' Up! demonstrators. I usually don't make Easter cards, but I loved how this one turned out. I guess I'm more into the holidays this year. First I make Valentine cards and now here I am making Easter Cards. 
      Stampin' Cita Tips:
      • Color Scheme: Perfect Plum, Pretty in Pink, Whisper White
      • Stamp Set: Something to Celebrate (from the 2011 Occasions Mini Catalog)
      • Accessories: Paper Piercing Tool, Mat Pack, Scallop Square Duo Bigz Die, Perfect Polka Dots Textured Impressions Embossing Folder Die, Two-Step Owl Punch, Decorative Label Punch, Whisper White 3/8 Inch Taffeta Ribbon 
      • To make the tulip, first, punch three owl bodies using the Two-Step Owl Punch. 
        • Cut off the owl feet.
        • Sponge the edges of each body with Perfect Plum ink. 
        • Array the punch outs on top of each other. Notice that you will have to cut off one of the Owl's ears depending on how you position the punch outs (see picture below).   
        • I improvised the stem by free-hand drawing it. 

      • Stamp your greeting in Perfect Plum ink on Very Vanilla cardstock, then punch it out using the Decorative Label punch. Make sure your greeting is toward the top of the punch out. Sponge the edges with Perfect Plum. 

      Although this is a great Easter-themed card, it would work great as a sympathy or thank you card as well. Just change the greeting at the bottom. Hope you enjoy it.

      Happy Stampin'
      Carmelita 

      Wednesday, June 01, 2011

      Last Chance List

      Such a bittersweet day it was today.
      Today Stampin' Up posted the Last Chance list - the list of the hundreds of retiring  stamp sets, accessories, and home décor products. These items will be available until June 30, 2011, and then their gone.
      Click the links below to get your favorites before it's too late
      Happy Stampin!

      ~Cita

      Friday, May 13, 2011

      Strength and Hope


      In 1997, my mom was diagnosed with breast cancer. I was in 7th grade at the time and was pretty concerned about my mom. But  my mom is a strong woman, and after a lumpectomy, radiation, and chemo therapy, she beat the cancer and has been in remission for about 13 years now. Praise the Lord!


      Because of this experience with my mom, I’m a sucker for campaigns that donate money to breast cancer research or to organizations that help breast cancer patients. This is why I almost cried when I heard that Stampin’ Up!, as part of their Making a Difference program, teamed up with The Breast Cancer Research Foundation for the Strength & Hope Campaign.

      Here’s how it works: throughout the 2011 Summer Mini Catalog sales period, Stampin’ Up! will donate $2 from the sale of each Strength & Hope set and Strength & Hope digital kit to The Breast Cancer Research Foundation, which is an organization dedicated to preventing breast cancer and finding a cure in our lifetime by funding clinical and translational research worldwide.  For more information on The Breast Cancer Research Foundation, visit www.bcrfcure.org.

      To purchase your sets, visit my website

      ~Cita

      Friday, May 06, 2011

      Stylin' at Daycare

      When Sybella moved up to the Pink Room at daycare (12-18 month babies), the daycare asked me to provide a labeled container to keep her belongings. I couldn't just send my daughter to daycare with her name just simply written on the container. No...I went all out and made this cute little name tag for her container. What is even cooler is that I used only paper out of my scraps box.

      Stampin' Cita Tips:
      • Use the Scallop Squares Big Shot Die to cut out the scallop squares. To get the strip of solid color, cut off part of the top and bottom of scallop and adhere to the patterned paper full scallop. 
      • Monkey stamp is from the Fox and Friends stamp set. Any of the images in this stamp set could be used in place of the Monkey.
      • Use the Naturally Serif Sizzlit Decorative Strip die and the Big Shot to cut out the letters for the name tag.
      Seriously, my kid has the cutest container in her room. :)
      Happy Stampin', 
      ~Cita 

      Sunday, April 10, 2011

      SCRAPbooking with Scraps (what a concept)


      I think I'm a borderline hoarder, especially when it comes to paper. I love paper, and I love saving every single scrap of paper. Actually, in the past year, I've gotten better on not saving every little piece, but I do still save a lot. Then comes the next problem, what to do with all the scraps? Lately, I've been all about finding ways to use my scrap pieces of paper, and I've collected several ideas that I hope to share with you in the upcoming months. This is the first idea on how to use scraps. I came across this idea in Stampin' Success, the monthly SU! demonstrator magazine. You basically take thin strips of scrap DSP paper, line them up, and then fan them out. I chose to use the fan effect as a background for this cute little picture of my daughter, Sybella, in her Easter dress. 

      Stampin' Cita Tips:
      • Color scheme: Pear Pizzazz and Chocolate Chip
      • Stamp sets: Baby Bundle
      • Accessories: 3/16" Corner Small punch, Modern Label punch, and Stampin' Dimensionals
      • The is a simple 6x6 page. 
      • Use several of the small images in the Baby Bundle stamp set to stamp a background. If you have this set in the clear-mount form, take one of the medium-sized blocks and adhere two to three of the stamps on the same block (see picture above). 
      • Stamp an appropriate sentiment for the page, punch out with the Modern Label punch, and adhere it to the page using Stampin' Dimensionals. The Baby Bundle stamp set has a few sentiments that you can use. 
      As I write this blog entry I'm actually amazed at how simple this page truly is, but how simple goes a long way. This page never made it into Sybella's scrapbook. My husband confiscated the page and it's now on display at his desk at work. :)

      Happy Stampin',
      ~Cita

      Friday, April 08, 2011

      Happy New Year from my Upline

      I know, we're  a quarter of the way through the year, and I'm featuring a New Year's card in this post. This card is just too beautiful to keep from showing until next year. Amber, my wonderful upline, sent this to me at the beginning of the year. She is a great upline and I'm blessed to be part of Ladybug Ink stampers (my SU! demo family). If you are interested in becoming a demonstrator and joining Ladybug Ink, contact me, and I can tell you all about it. 

      Happy Stampin' 
      ~Cita 

      Wednesday, March 23, 2011

      A Love Layout

      Have I ever mentioned that I have a scrapbooking club? Well, I do. We meet the first Thursday of the month and make a scrapbook layout and then another simple project. If you're in the Albuquerque area and are interested in attending my club, contact me. 

      This layout is from my January club. I generally am not a Valentine's fan, but this year something took over me and I actually made several Valentine-related items; this scrapbook layout being one of them. The good thing about this layout, though, is that is can be used for anybody you love. I have no idea yet what pictures will grace this layout, but I do know that this layout is one of my favorites. I hope you enjoy it.

      Stampin' Cita's tips:
      • Color Scheme: Real red, Pretty in Pink, Pacific Point
      • Stamp sets: Filled with Love, Notes & Details,  Fundamental Phrases
      • Accessories: Basic rhinestones, Stampin' Dimensionals, Big Shot, Top Note die, 1" Circle punch, Eyelet Border Punch, Brayer, Versamark
      • Create the background by starting with two 12x12 sheets of Whisper White Cardstock. Stamp the heart image in Versamark all over the cardstock to create a background. Next, ink your brayer with Pacific Point by rolling it over the ink pad and then roll it over the cardstock. Repeat this step until you are satisfied with the amount of Pacific Point on your page. You will then repeat this step using Pretty in Pink. Remember to clean your brayer in between colors. 
      • The DSP used on this page was part of the Filled with Love package, but it still can be obtained in the Brights Patterns Designer Paper Stack (which is a great paper stack to have around). 
      • Stamp the "Love" on whisper white and then stamp the heart clover image on a piece of Pretty in Pink DSP. Punch the image out using the 1" circle punch and use it for the "O" in Love.  
      • Cut out two Top Notes, one Whisper White and one Real Red. Cut along the dotted lines of the Whisper White and adhere to the Real Read Top Note to get a nice layered look. 
      • Use the images in the Notes & Details stamp set to create a place for journaling. Note that the "Love" image is actually from the Fundamental Phrases stamp set and stamped in Real Red.


      I hope you enjoy the Love Layout and can use it as a starting point for one of your scrapbook layouts. I think this is an simple layout that can easily be customized to different colors and occasions. 

      Happy Stampin' and Scrappin'!
      ~Cita

      Monday, March 21, 2011

      Punch a Bunch of Owls


      Remember I mentioned how I got into the Valentine's Day spirit this year? Here's another one of my Valentine's Day projects that I did, even though I personally think Valentine's day is way overrated. However, one of the things I like about this card is that it doesn't have to be used for a Valentine's Day card. Just change out the greeting to "Happy Birthday" or "I Love You" or "Thinking of You," and wa-la - a non-Valentine's day card. On another note - I love the owls from the Sale-a-Bration Punch Bunch set. They are so stinkin' cute. 

      Stampin' Cita Tips:
      • Color scheme: Certainly celery, Real Red, Pink Piourette, and Early Espresso
      • Stamp sets: Sale-a-Bration Punch Bunch, Teeny Tiny Wishes 
      • Accessories: Owl Extra Large punch, Perfect Polka Dots Embossing Folder, Big Shot, 1/4" Grosgrain Ribbon Early Espresso, Scallop Trim Border punch
      • Use the Owl Stamp in the SAB Punch Bunch stamp set to get your base owl image. Cut out the owl using the Owl punch. Then, take a few pieces of DSP and punch out the body of the owl using the Owl punch and adhere the punch out to the owl image. I also used the Stampin' Write markers to color the Owl's outer eyes.  
      • If you are like me and are not really good at tying beautiful bows, tying a knot in your ribbon is a nice alternative. I'm good at tying knots, such as I did with the Early Espresso grosgrain ribbon. I used scotch tape to attached the ends of the ribbon behind the DSP layer. 
      Happy Stampin'

        Sunday, March 20, 2011

        A Bookmark Card Just for You!


        Look, I'm not blogging about Christmas. It's beautiful outside and there's hint of spring in the air. I'm so excited! Hurry up spring!

        You know what else I'm excited about? I'm excited about the Sale-a-Bration Punch Bunch stamp set. I love how each stamp in the set coordinates with a punch. Like this stamp. Although I did not use it in this way, but the "For You" stamp in the Punch Bunch stamp set coordinates with the scallop punch (as well as the 1-3/4" circle punch as you will see). 

        Stampin’ Cita Tips:
        • This card is a greeting card with a book mark! You’ll need to obtain a few small magnet pieces to make the bookmark.
        • Color scheme: Melon Mambo, Crumb Cake, Always Artichoke, Very Vanilla
        • Stamp sets: Sale-a-Bration Punch Bunch
        • Accessories and tools: Big Shot, Two Tags Bigz Die, Springtime Vintage DSP
        • To make the book mark, cut a piece of  2” x 8” cardstock and score and fold at 4”. Place the folded cardstock over the skinny tag on the Two Tags Bigz Die. Make sure to place the fold inside the tag so that you get a folded tag instead of two full, separate tags.


        • To make the "For You" embellishment for the bookmark, first punch a scallop from the Springtime Vintage DSP. Next punch a1-1/4" circle from Always Artichoke. Finally stamp the "For You" image in Always Artichoke on Very Vanilla and use the 1-3/4" circle punch to punch out the middle of the stamped image. 
        • Add some *bling* by placing a Rhinestone on the flower.
        If you don't want to make this a bookmark card, all you have to do is just adhere the bookmark to your card, and wa-la, now it's just a card.


        Happy Stampin'
        ~Cita


        Snowed In

        It's like we were destined to not go to school today. I woke up to a beautiful 6 inches of snow in my yard. We are in the lower elevatio...